Raising chickens,
from chicks to coop.
The supplies, small routines, and lessons learned that help me raise a flock through cool mornings and rainy days.
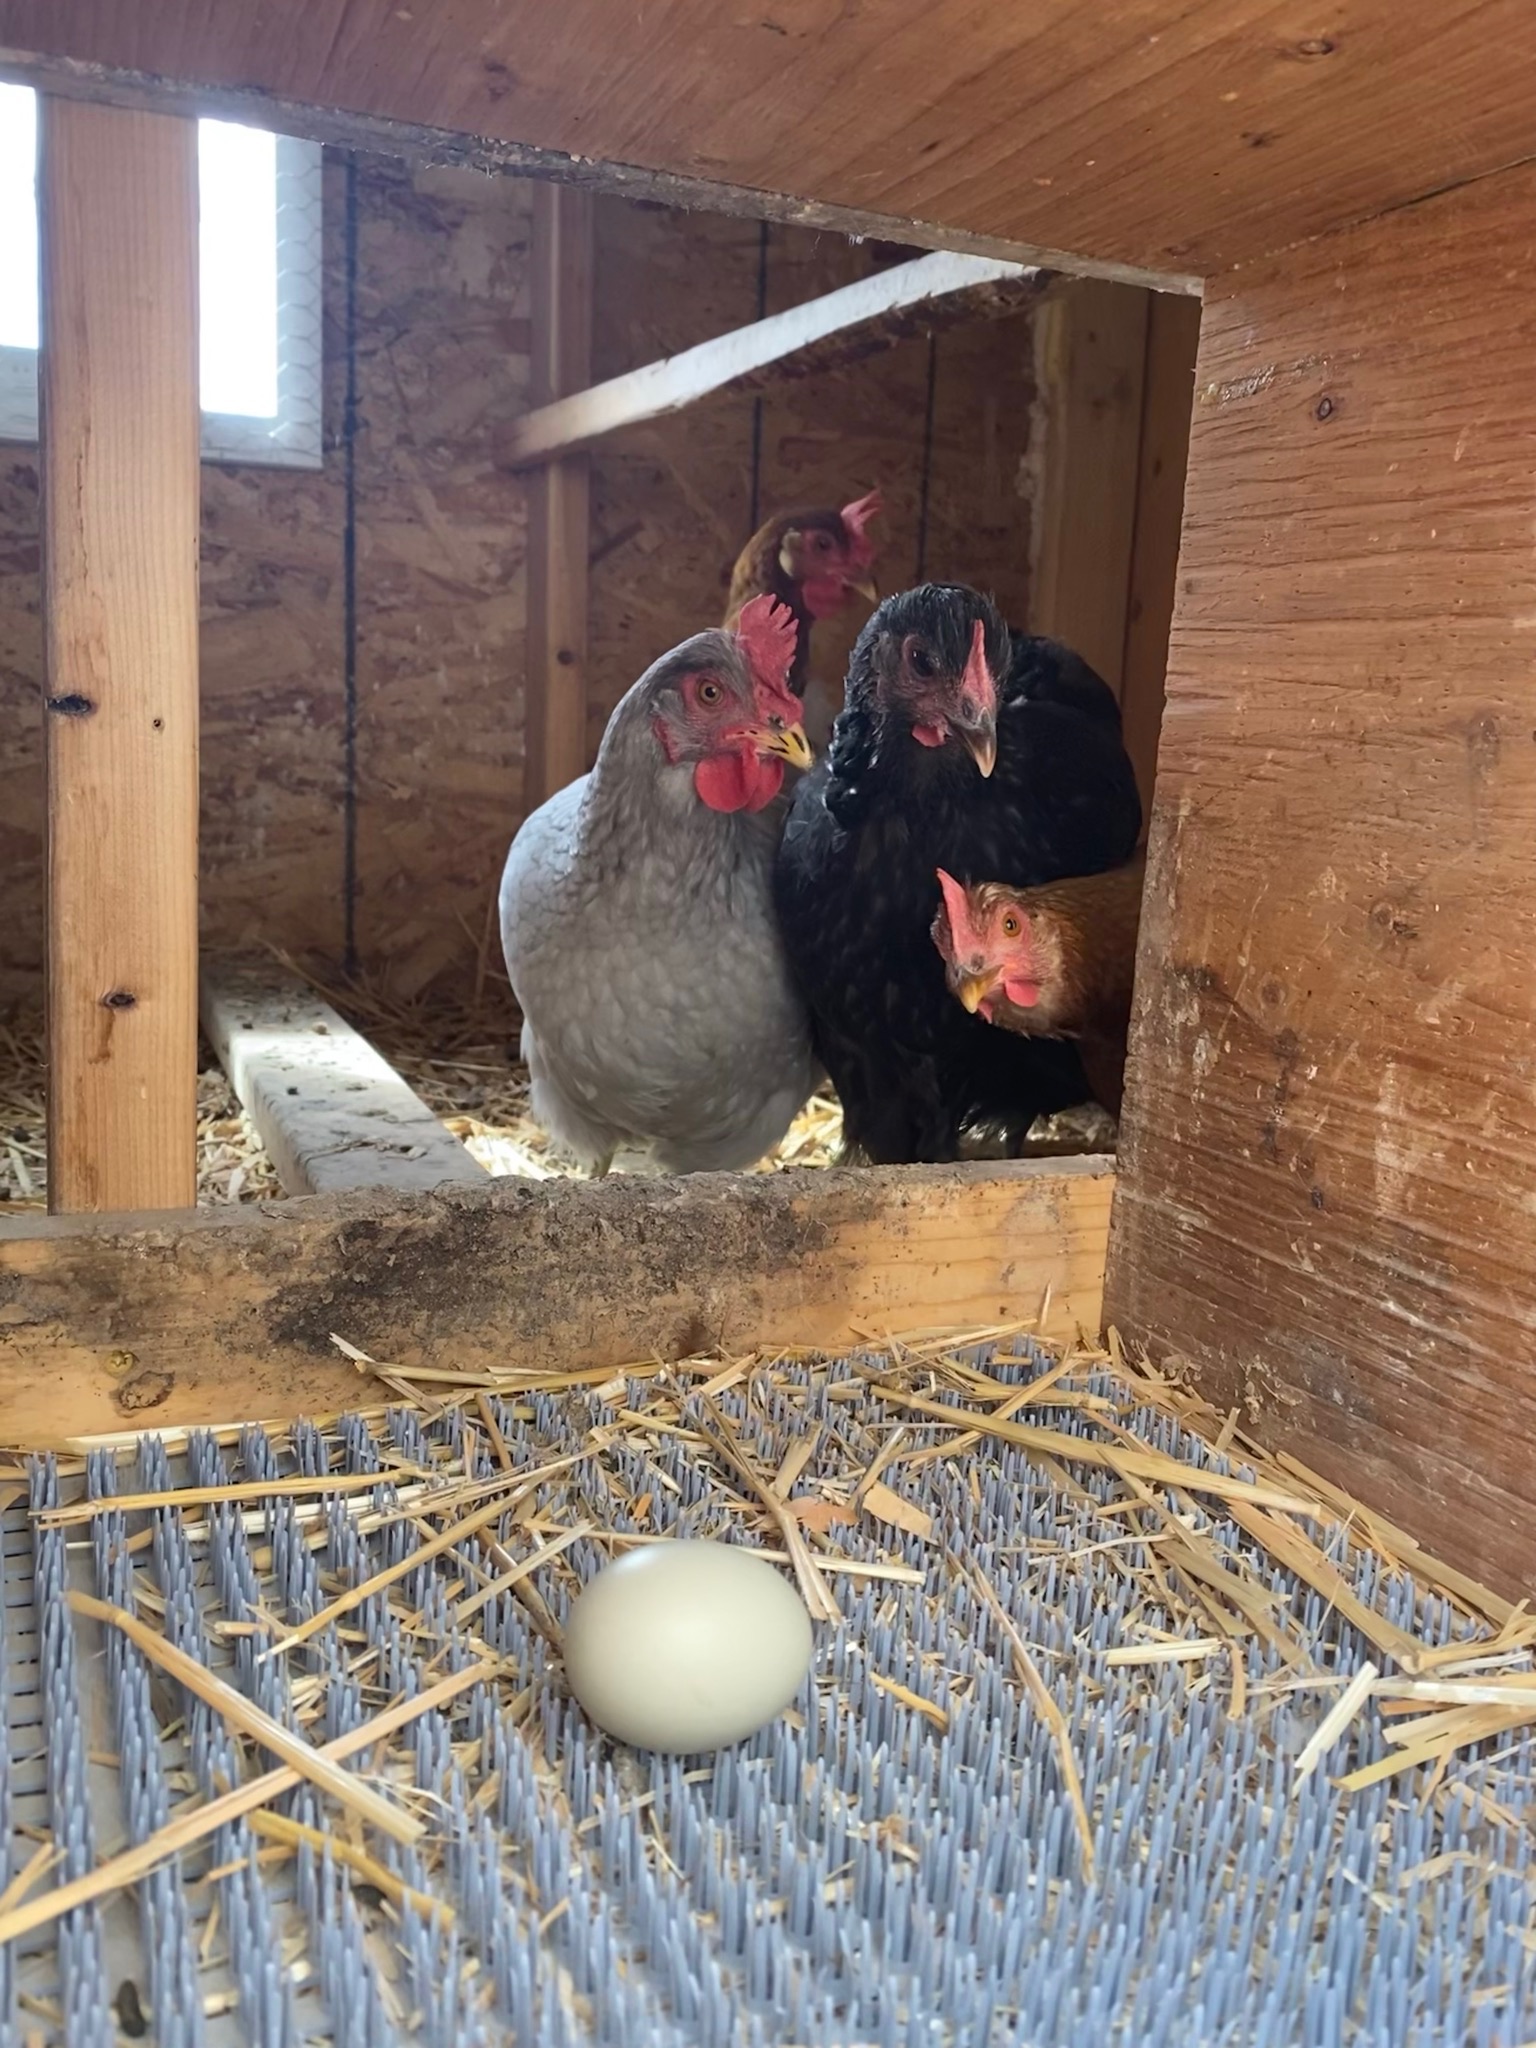
Baby chicks are very good at making you forget how quickly they’ll turn into actual chickens. One minute they’re tiny fluff balls; the next, they’re testing whether the sides of their nursery are really tall enough.
Here in the Pacific Northwest, I usually bring chicks home in early spring. That means planning for cool mornings, rainy days, and a stretch indoors before they’re ready for the coop.
My recommendations come from raising chickens in those conditions—and learning a few things the hard way. Here’s how I approach the fluffy beginning, the move outside, and the supplies that make daily chores easier.
Affiliate disclosure: This post contains affiliate links. If you buy through them, I may earn a commission at no additional cost to you. As an Amazon Associate I earn from qualifying purchases.
First, set up the chick nursery
Before the chicks come home, have their brooder ready. “Brooder” sounds a little fancy, but it’s simply their warm, protected nursery.
An old stock tank can work well. Other enclosures can work too, as long as they safely contain the chicks, allow ventilation, and have enough room for growing birds, food, water, and a warm area with space to move away from it.
Think about cleaning before you settle on a setup. Can you reach everything easily? Can you change the bedding without turning it into a whole production? Future you will appreciate that little bit of planning.
A garage or similar sheltered space can be useful, provided the chicks are protected from drafts, pets, vehicle exhaust, and stored chemicals. Add clean, dry bedding and get everything running before arrival day.
For the nursery:
LavviTech pop-up brooder
Small Pet Select pine shavings. Add a secure, ventilated cover for when jumping becomes a hobby.
Keep them cozy—with room to cool off
An early-spring chick setup here needs a dependable heat source. A brooder warming plate or properly installed heat lamp can provide warmth, but check the equipment’s instructions, capacity, and minimum room temperature before choosing one.
Heat lamps need particular care: keep them clear of bedding and other combustible materials, and secure them independently rather than trusting the clamp alone.
The chicks need both warmer and cooler areas. Watch how they behave: huddling can mean they’re cold, while avoiding the heated area can mean they’re too warm. A thermometer at chick level is useful alongside those observations. University of Maine Extension explains brooder temperature and chick behavior here.
Choose the heat setup that fits your space; these are alternatives, rather than things you need to buy together. Check each listing for the components included. The VIVOSUN listing contains fixtures only, without bulbs, and is rated up to 150 watts; do not pair it with the separate 400-watt lamp option. Choose compatible equipment suited to the brooder and follow all manufacturer clearances. Keep hot lamps clear of fabric enclosures.
- Heat plates:
Sindarhor heat plate
Heat plate with anti-roost cone - Heat-lamp options:
400W heat-lamp option
VIVOSUN clamp fixtures (bulbs not included) - Brooder thermometers:
TempPro thermometer/hygrometer
Weewooday probe thermometers
Small chicks, small feeders—and frequent water checks
Start with chick-sized feeders and waterers. The big coop equipment can wait.
One feature I love is adjustable-height legs on a chick waterer. It grows with the chicks, and a little elevation helps keep shavings out of the water. It doesn’t stop every enthusiastic bedding rearrangement, but it helps.
Keep fresh water available, clean the waterer daily, and check throughout the day that bedding hasn’t blocked access. Make sure every chick can comfortably reach both food and water.
For feeding:
MACGOAL chick feeder. You’ll also need a suitable chick waterer.
Choose feed for the chicks you actually brought home
Purina is the brand I use. Before choosing a formula, though, ask the hatchery or seller about vaccinations—specifically the coccidiosis vaccine.
For chicks that haven’t received that vaccine, my preference is medicated chick starter. For vaccinated chicks, follow the hatchery’s feeding instructions; feed containing a coccidiostat can interfere with the vaccination program. University of Maine Extension covers that distinction.
Start with feed formulated for chicks, then follow the product’s starter/grower feeding directions. Layer feed comes later, around the start of laying; the timing depends on the birds and the feed program. Oregon State’s guide places the transition at about 18–20 weeks. See its chick-feeding guidance.
Chick starter options:
Purina Start & Grow medicated crumbles
Purina Start & Grow non-medicated crumbles. Check the label for the formula and medication status your chicks need.
A little about grit and treats
Grit and treats have different jobs. Appropriately sized insoluble grit helps chickens grind foods that need it. Whether your chicks need supplemental grit depends on their diet; follow the feed and grit labels and ask your Extension office if you’re unsure. Grit isn’t a substitute for the calcium laying hens need.
Treats can wait until the chicks are old enough for the product you’re offering. Keep extras small so their complete feed stays the main meal. University of Minnesota Extension discusses feed, grit, and treats.
Optional grit:
Manna Pro chick grit
Prepare for their escape-artist era
Those little wings get ambitious surprisingly quickly.
As the chicks grow, a small, stable roost gives them somewhere to practice. A secure, rigid wire cover can help keep them in the brooder while allowing airflow. Check for sharp edges and openings that could trap them. I avoid loose netting because I don’t want anyone getting tangled.
Moving outside takes more than reaching a date on the calendar. Look at their feathering, the forecast, and the conditions in the coop. They need a gradual transition to a dry, ventilated, secure home protected from drafts. If you already have chickens, introductions need their own plan.
Moving into the coop: make the everyday chores easier
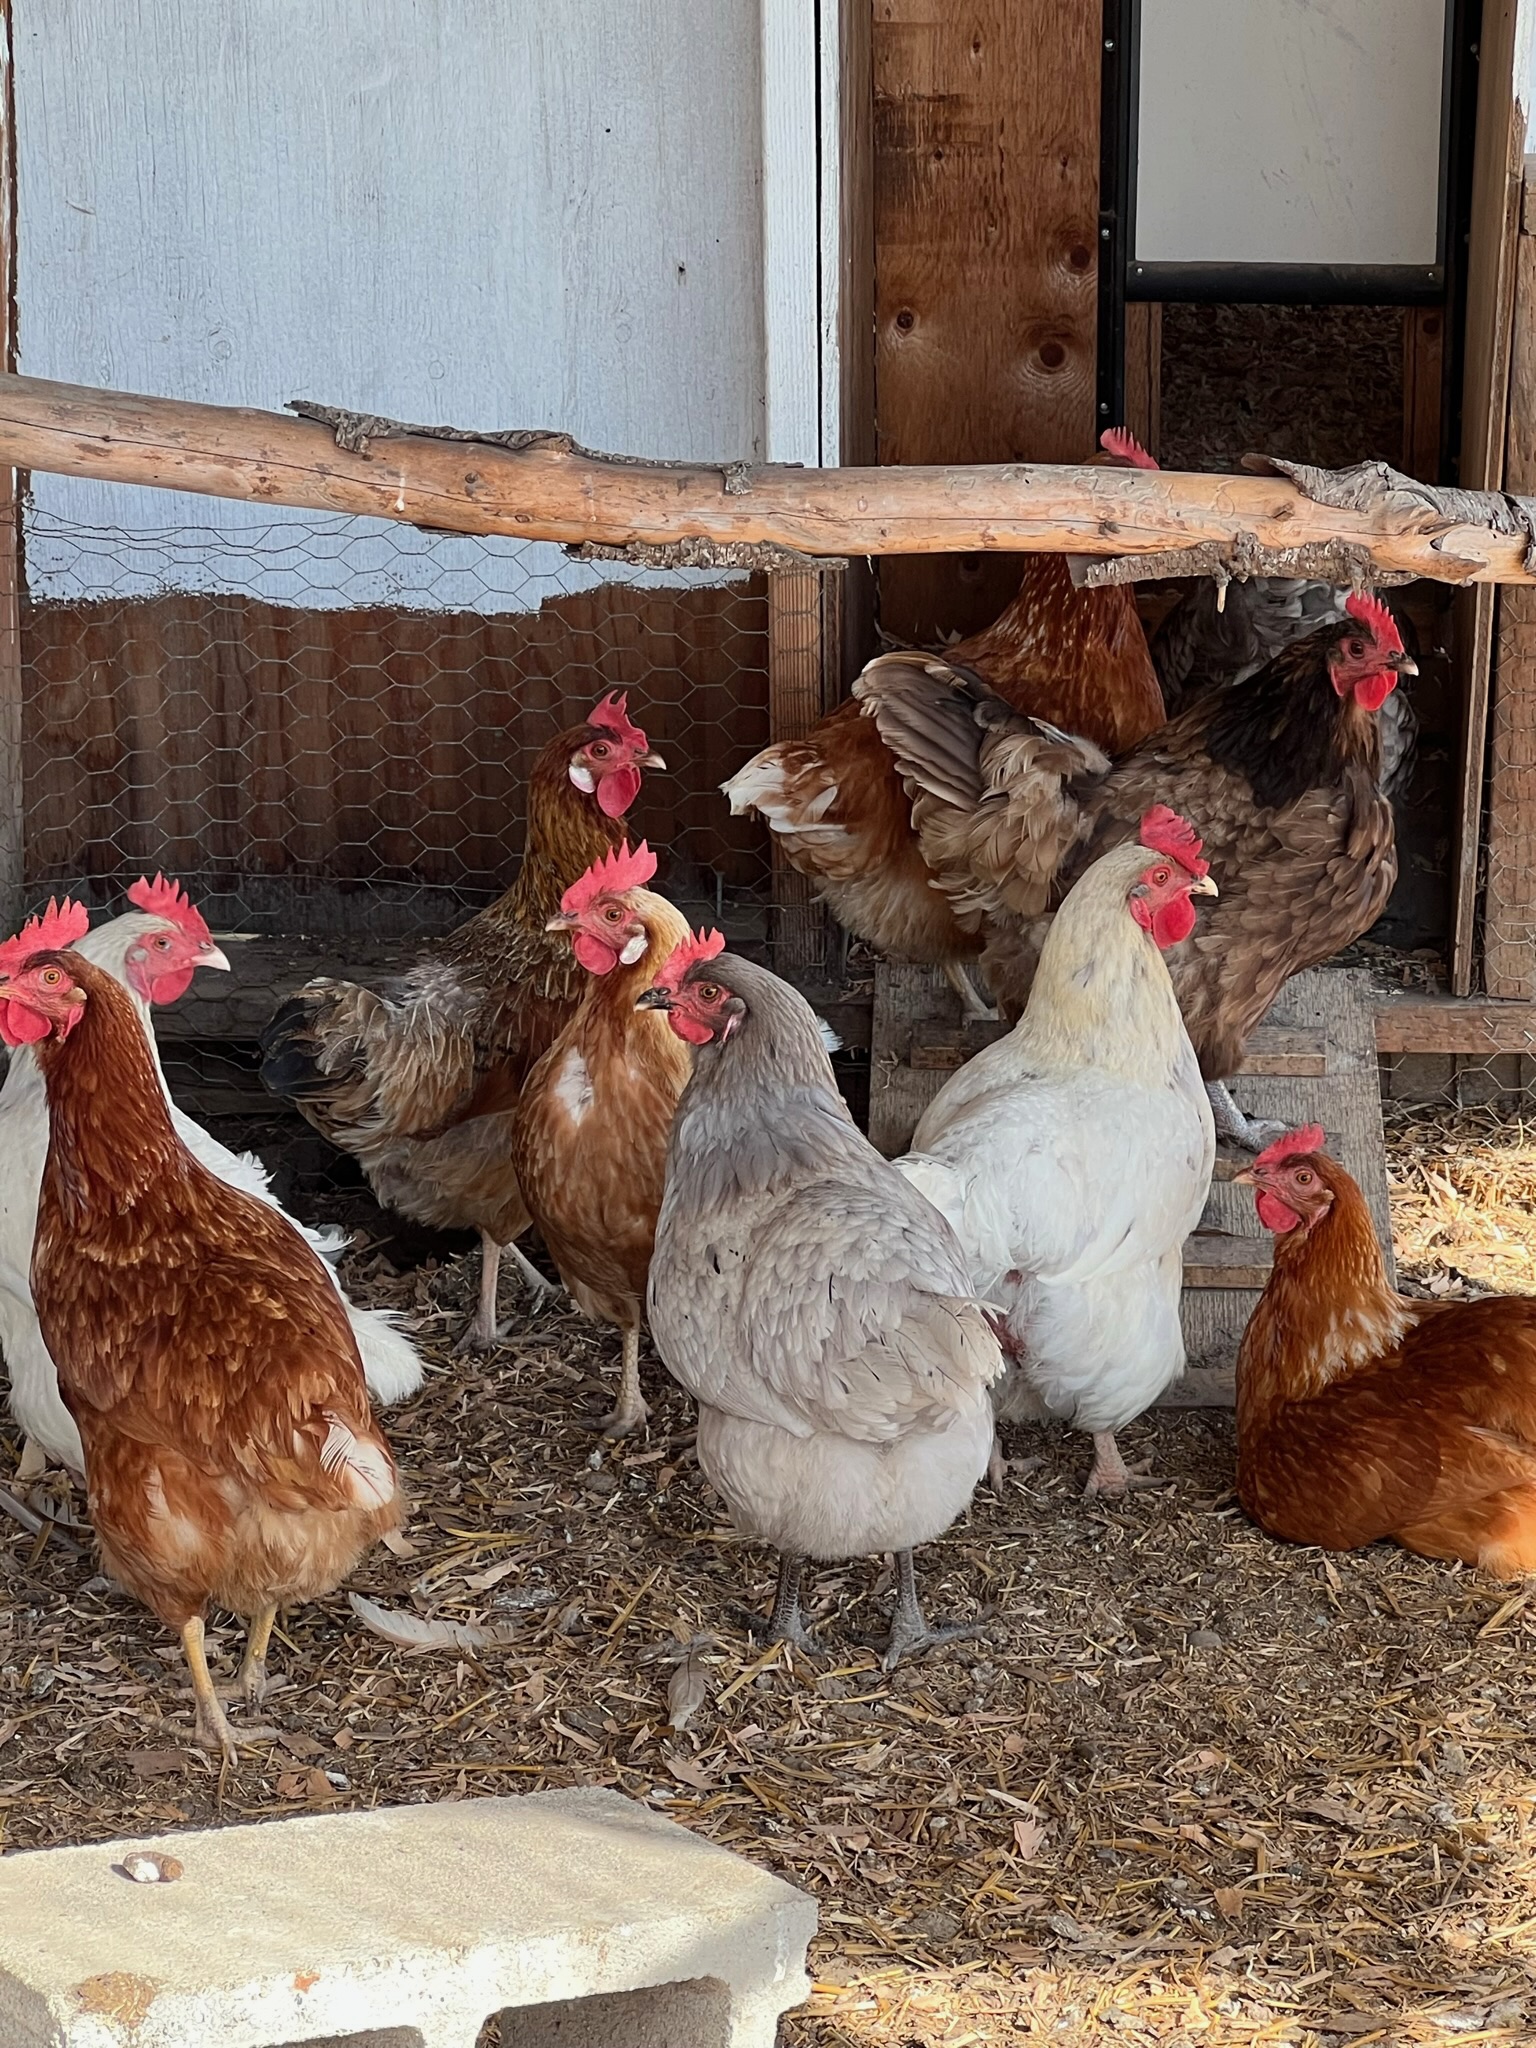
Once the birds move outside, larger feeders and waterers make sense. Choose equipment you can refill and clean easily, and keep it at a height the birds can comfortably reach.
I recommend a steel feeder for durability. A raccoon once chewed through our hard plastic feeder, which was a fairly convincing product review.
If pests are a problem, an automatic feeder may be worth considering too. Check how it works and make sure your birds learn to use it reliably.
Larger containers still need daily attention. Check that feed is dispensing, water is clean and flowing, and everyone can reach both.
- Coop feeder options:
Stainless steel hanging feeder
Pawaboo automatic feeder
RentACoop metal trough feeder - Coop waterer options:
FARM-TUFF plastic waterer
FARM-TUFF galvanized waterer
Feed and grit for the grown-up flock
When the hens reach laying age, choose layer feed according to the feed label and their stage of growth. Grit serves a different purpose from feed or supplemental calcium; match its size to your birds and follow the feeding directions.
Layer feed and grower grit:
Purina Layena pellets
Scratch and Peck grower grit. Match feed and grit to the birds’ age and feeding directions.
Keep the feeding area covered and tidy
I prefer keeping feed outside the sleeping coop, in a covered, secure area. Around here, “covered” is doing a lot of work. Wet feed and spilled feed are both things I’d rather avoid.
Make sure the flock can reach food and water throughout their waking hours. If the coop door closes them away from their supplies too early—or keeps them waiting in the morning—adjust the arrangement or schedule.
Store feed securely and clean up spills. There’s no need to put out a welcome basket for the nighttime visitors.
My number-one coop recommendation: an automatic door
We’ve found opossums, raccoons, and weasels in our coop, and we’ve lost chickens. It’s an awful way to discover a weak spot.
That experience is why an automatic chicken door is my number-one coop recommendation. It helps make closing the flock in for the night a consistent part of the routine.
My setup uses a Brinsea door timer and a ChickenGuard locking door. The linked Brinsea listing is an opener, and the ChickenGuard listing includes an opener and door kit. Compare them with what you need; don’t assume you need both complete systems or that parts from different brands fit together.
An automatic door still needs checking. Confirm that every bird is inside, test that it closes completely, and stay on top of the batteries or power supply. The rest of the coop needs attention too: walls, vents, flooring, latches, and gaps all matter.
Compare door and opener options:
Brinsea ChickSafe Advance opener
ChickenGuard PRO opener and door kit
Another door option:
Omlet automatic door
Check model compatibility, opening dimensions, and power requirements before ordering. Use suitable hardware cloth for predator protection rather than relying on lightweight chicken wire. Oklahoma State Extension covers predator protection here.
A few extras for the grown-up flock
Once the essentials are sorted, there’s room for a little chicken entertainment. Black soldier fly treats are one option. Vegetable holders can also give the flock something to peck at when you have suitable fresh vegetables to share. These are optional feeding accessories, not treats themselves; supervise use and remove any damaged or loose parts.
Choose foods that are safe for chickens, skip anything spoiled or moldy, and keep extras small enough that complete feed stays the main meal.
Optional flock extras:
FLYGRUBS black soldier fly larvae
Vegetable treat holder
Vegetable skewer and bag set
Start with the essentials, then build from there
You don’t have to buy every chicken accessory before bringing home your first chicks. Start with a safe brooder, appropriate warmth, chick feed, clean water, and a secure plan for their next home.
Then choose the equipment that makes your daily routine easier to keep—even when it’s raining sideways and you’d rather stay inside.
Putting your setup together? Use the supply notes above to plan the chick stage first, then the feeder, waterer, and door you’ll need for coop life.